Windows 365 SSO
This is just a quick post showing you the latest update regarding Windows 365 and Single Sign On. On the 15th of December Microsoft announced the Public Preview for SSO. This was already on the roadmap . As you can see the GA is planned for June 2023.
Table Of Contents
Now let’s get started!
Tip
Please keep in mind this feature is in preview
Windows 365 without SSO
Currently, if you have deployed Cloud PCs via a provisioning policy the end users have to log in twice. The first time you navigate to the web portal via https://windows365.microsoft.com and the second prompt when you connected to your Cloud PC. This is not really a seamless experience for our end users. With this new SSO option, users can connect to their Cloud PC without the need to provide their password.
Preparing for Windows 365 SSO
Currently, the preview setting can be found within the provisioning policy, meaning that if you change your current provisioning policy you have to reprovision your Cloud PCs to use the SSO feature.
You can accomplish this in two ways, either you can create a new provisioning policy with the SSO setting enabled. Note that a user can only be a member of 1 provisioning policy. So make sure your test user isn’t getting the current provisioning policy. Or you can just modify/update the existing provisioning policy with this new setting.
Update the current provisioning policy
If you want to update your current provisioning policy you can edit the current policy and enable the Use single sign-on (preview) option. Make sure that after you update the provisioning policy you reprovision your Cloud PCs otherwise the new settings won’t be configured on the current Cloud PCs.
New provisioning policy
For this demo, I have created a new provisioning policy and assigned it to a new group (W365-WE-ProvisioningPolicySSO)
Navigate to endpoint.microsoft.com and log in with an account with the correct permissions
Go to Devices –> Windows 365 –> Provisioning Policies
Click on Create policy
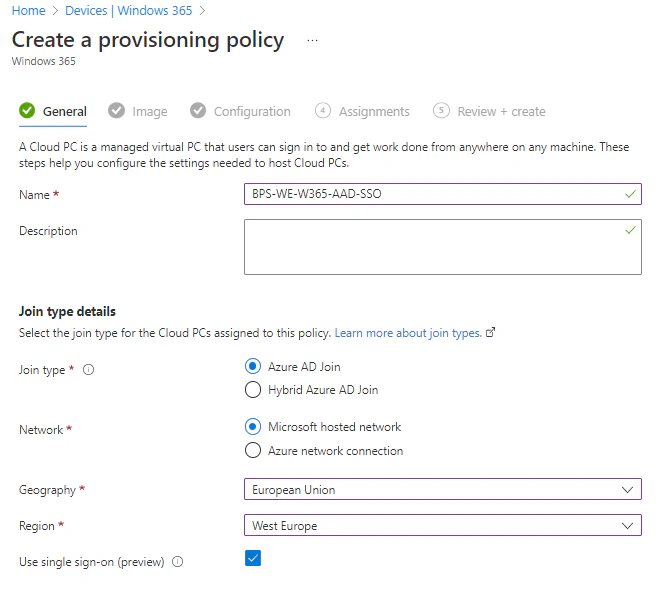
On the General page enter a Name and Description (Optional) for the new policy. I would recommend choosing a naming convention that will help you identify the configuration of this provisioning policy.
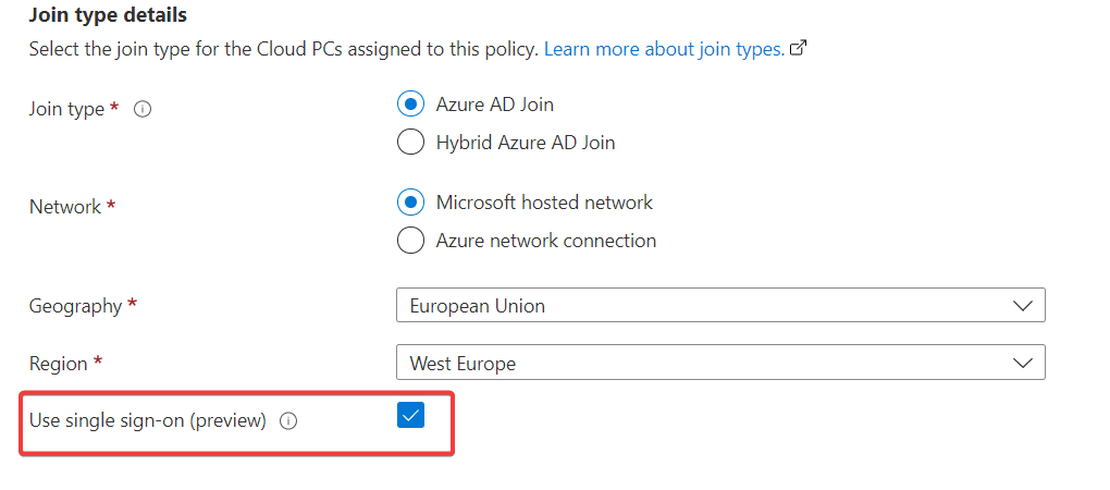
Next, choose the Join type and configure it to use Azure AD Join
Now select the Network type, for this policy, I choose the easiest deployment Microsoft hosted network
And now the setting has been added! Select the checkbox next to Use single sign-on (preview) and hit Next
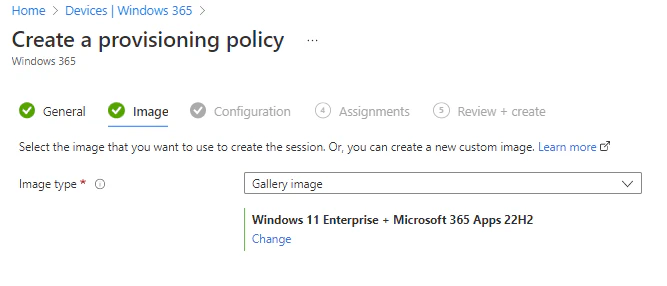
- Choose your Image type and click on Next
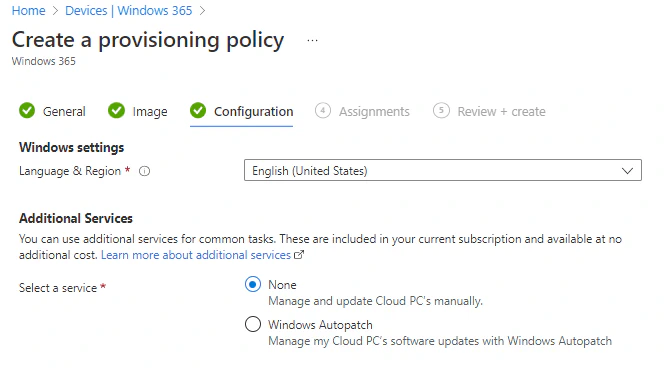
- Select the Language and Region you would like to use and hit Next to proceed to the assignments page.
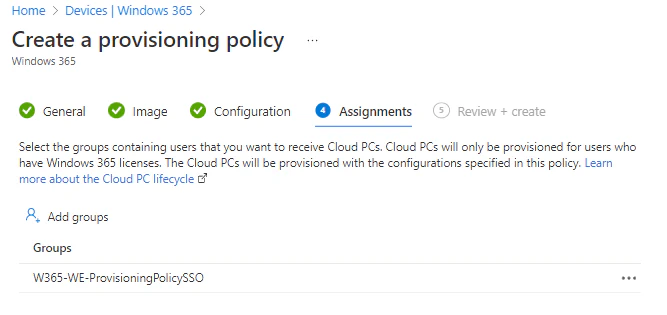
- Now we need to assign the policy to a group.

(Re)provision a Cloud PC
As I said before, creating or changing a provisioning policy will not change anything on the previously provisioned Cloud PCs. If you’re not sure if a Cloud PC has been provisioned with the latest version of a provisioning policy you could create a dynamic device group containing all the CLoud PCs with a certain provisioning policy.
Dynamic group with Cloud PCs per provisioning policy
Navigate to groups
Select New group within the Microsoft Endpoint Manager admin center
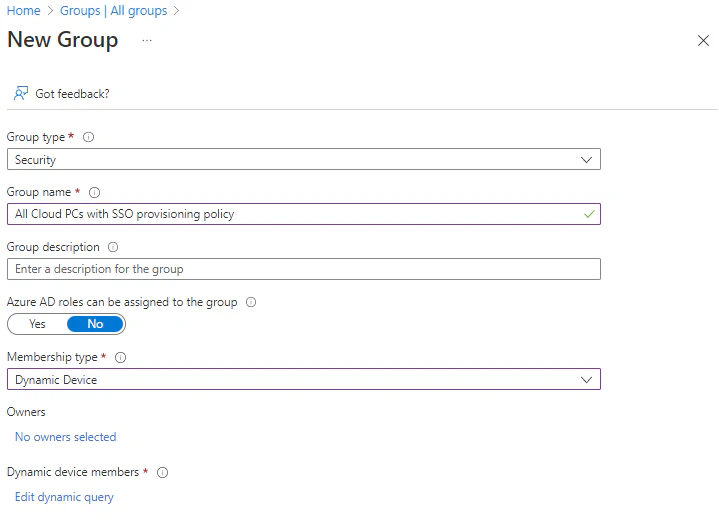
Give the group a name and description (optional)
Select Dynamic Device as Membership type and click on Edit dynamic query
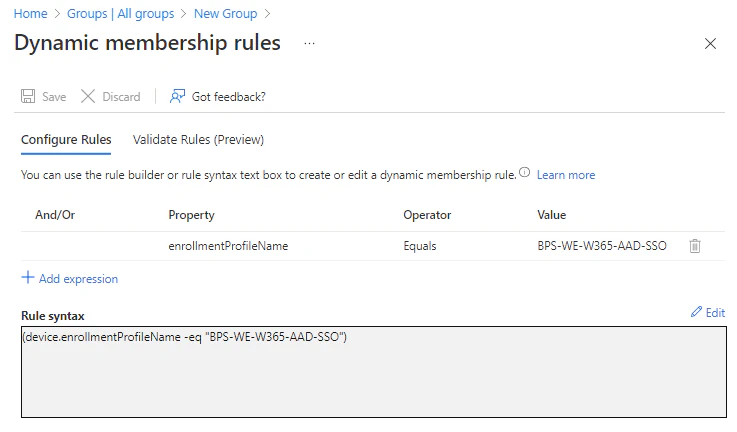
- Configure the following rules
- Property = ennrollmentProfileName
- Operator = equals
- Value = Your provisioning policy name
- Hit the create button and wait for the group to refresh.
Now you can validate based on the dynamic group which Cloud PC is provisioned with the newly built
(Re)provision
For this demo I created a new provisioning policy because I have removed my user from the previously assigned provisioning policy you will notice that after reprovisioning the status of the Cloud PC will change to In grace period
Tip
In grace period: The grace period is triggered if the Windows 365 license is removed from the assigned user, or the provisioning policy is unassigned.
Single sign-on experience (web interface)
If your Cloud PC has been reprovisioned we are ready to test drive the new SSO experience.
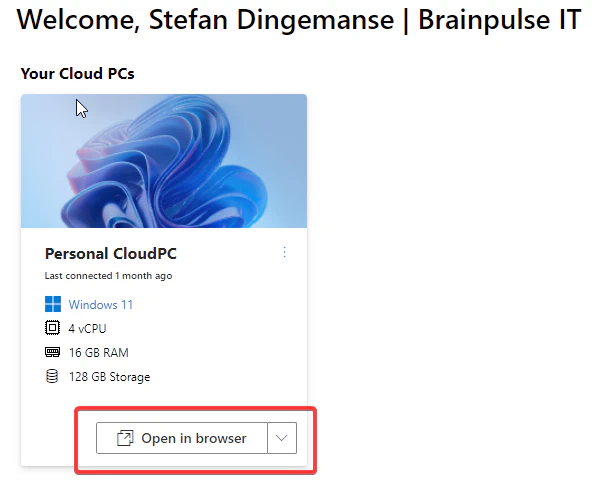
Navigate to the [Windows 365 portal and log in with your Azure AD credentials. If the provisioning of your Cloud PC is complete you will see your assigned Cloud PC.
Now let’s connect to our Cloud PC and see what happens.
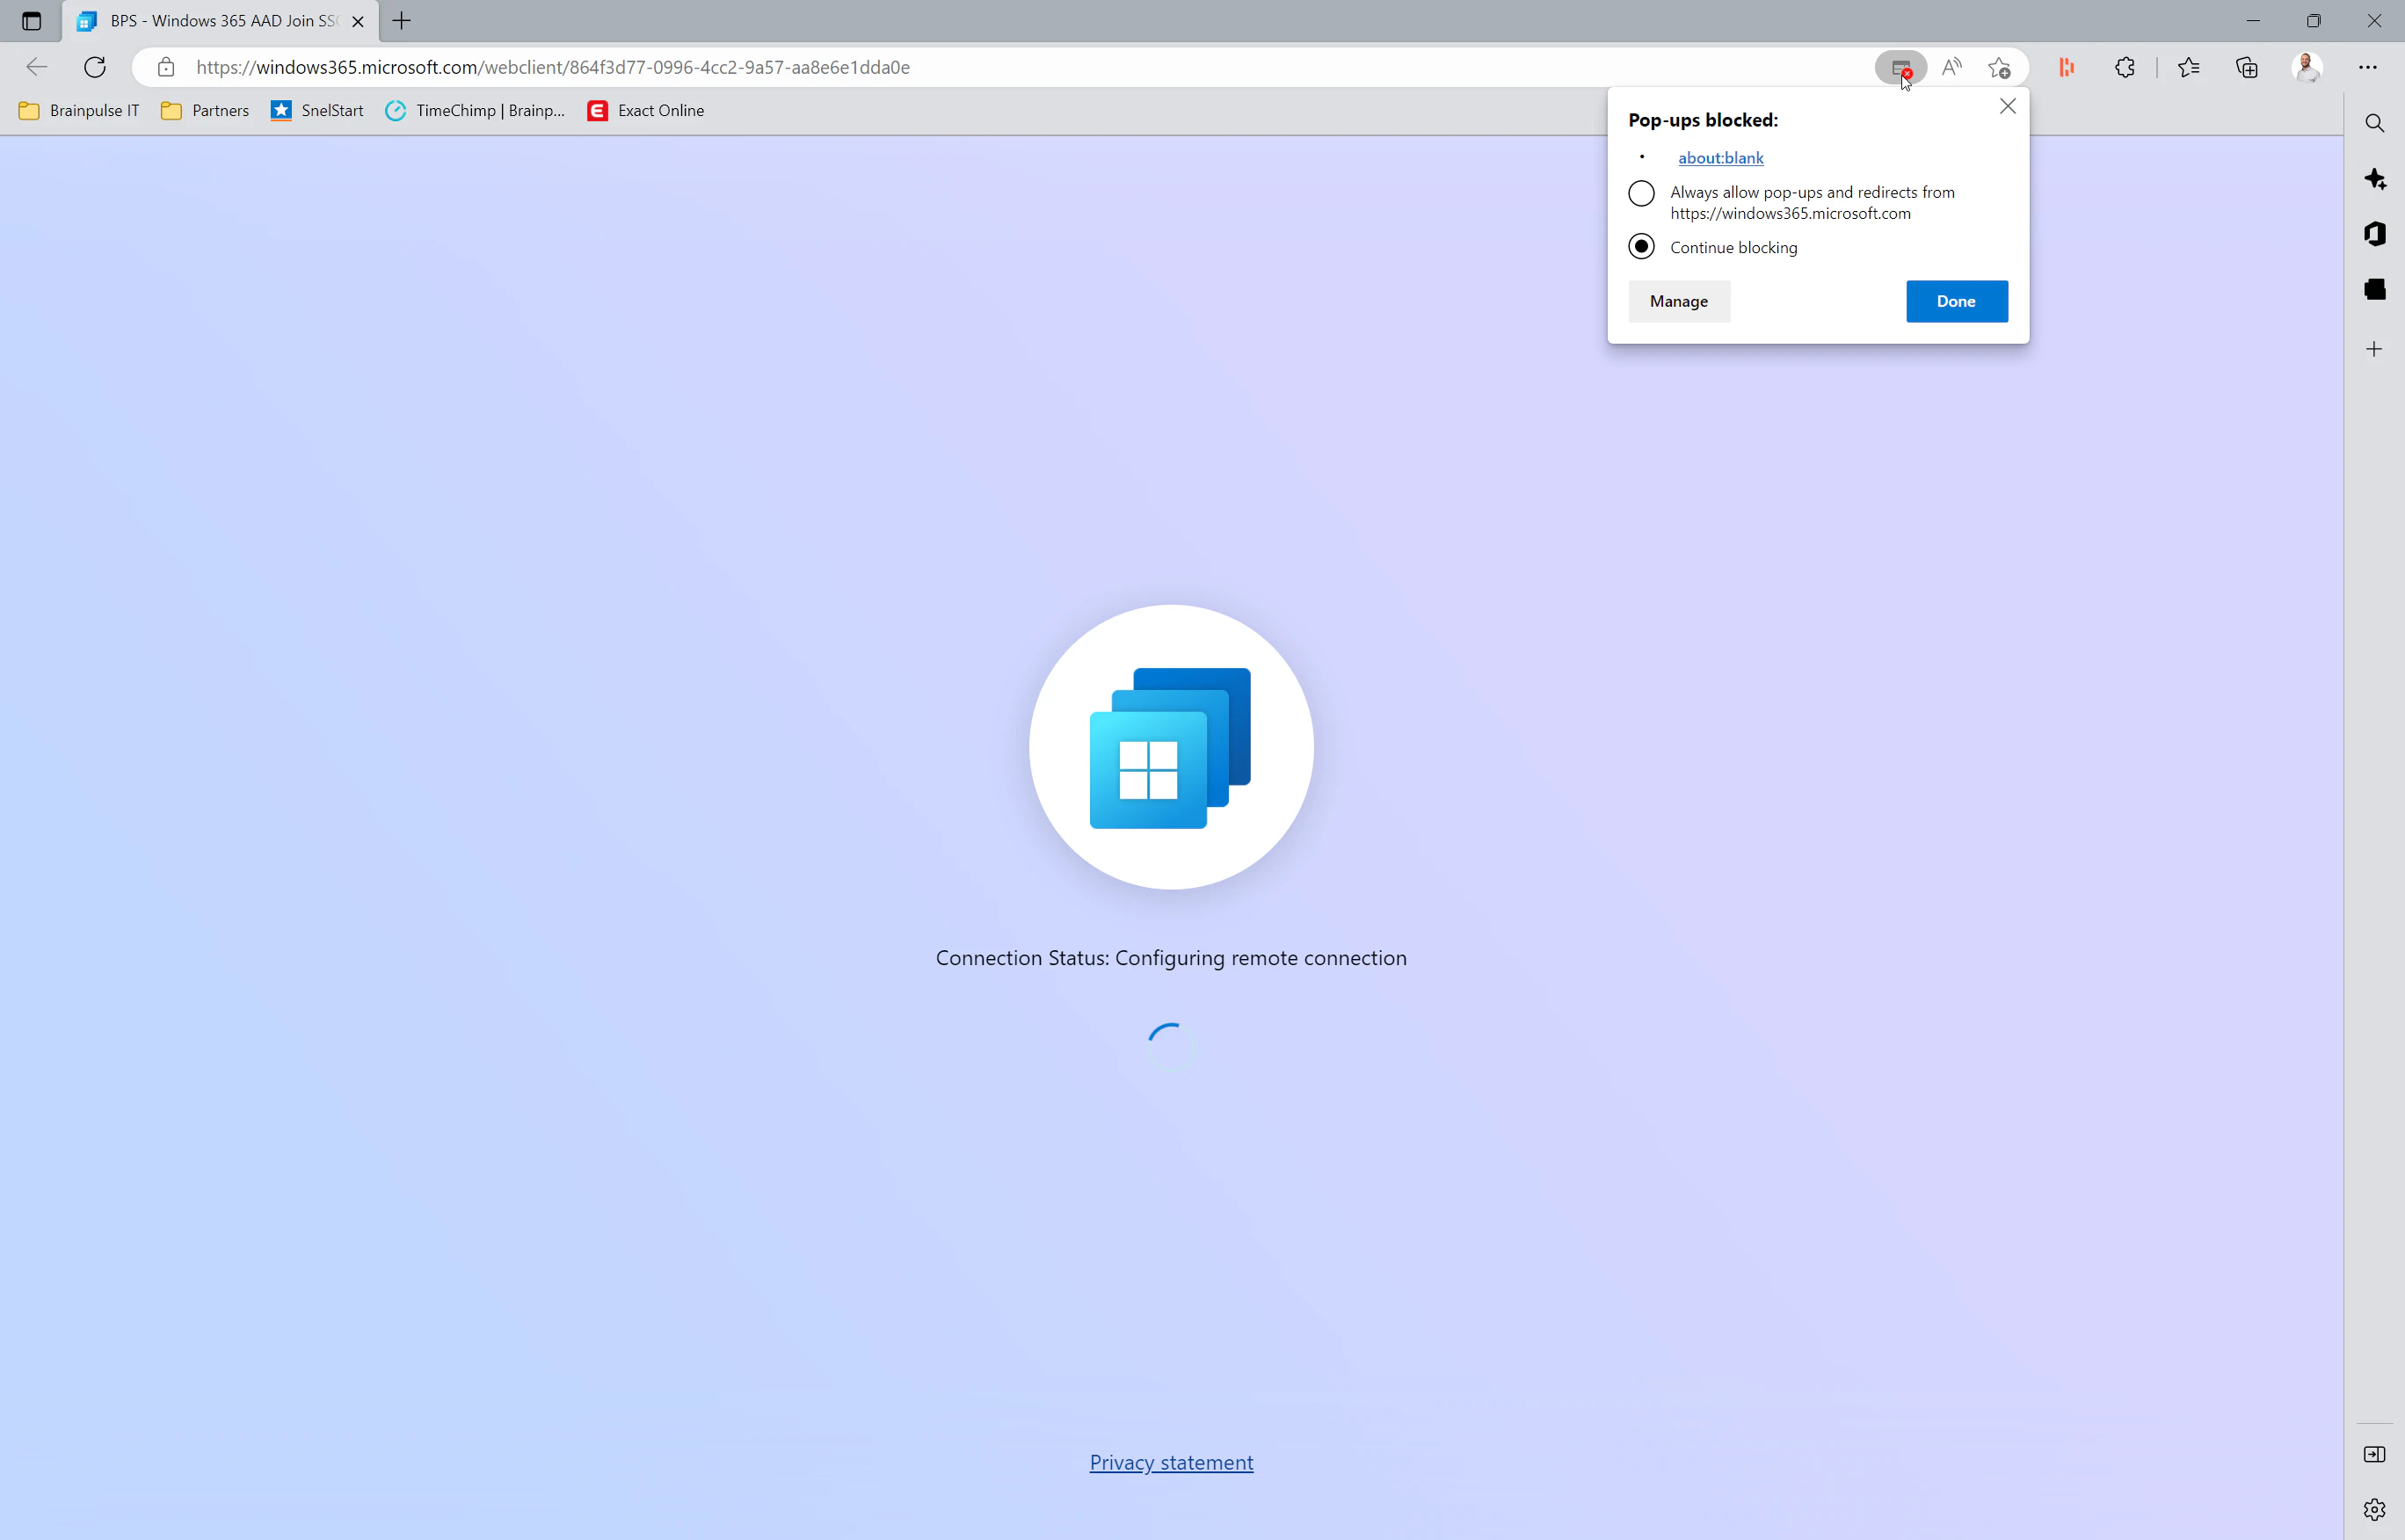
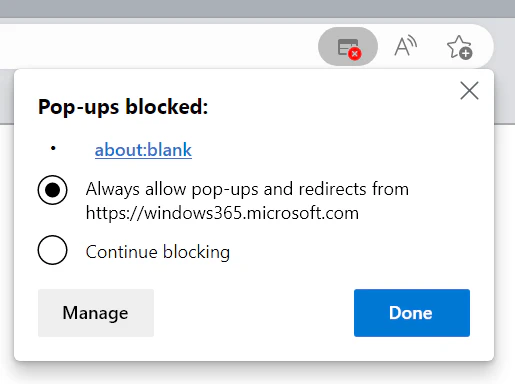
You will notice that the first time nothing happens because of the pop-up which is being blocked by your browser. You need to allow this pop-up and refresh the page. In the next chapter, I will describe how you can allow this pop-up with a configuration profile for the Microsoft Edge browser.
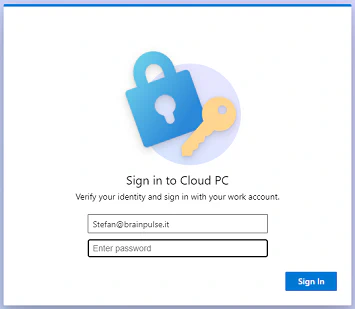
Once you have allowed the pop-up you will see a second login screen where you need to reauthenticate, after this authentication you will be prompted with the following screen to Allow remote desktop connect.
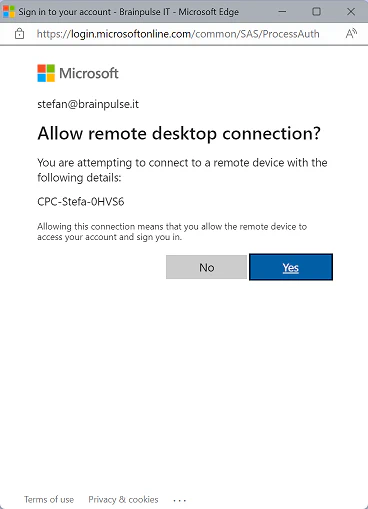
As soon as you hit Next the screen will disappear and the connection to your Cloud PC will start. The second time you need to log in to your Cloud PC you will have a complete SSO experience.
Allow pop-up windows for Windows 365
During my initial testing, I noticed that when I sign in the first time via the Windows 365 portal that there was a pop-up being blocked by my Edge browser. To provide a seamless experience for our end users we can allow these pop-ups for certain websites. To accomplish this we need to create a new configuration profile based on the settings catalog and deploy it to our users.
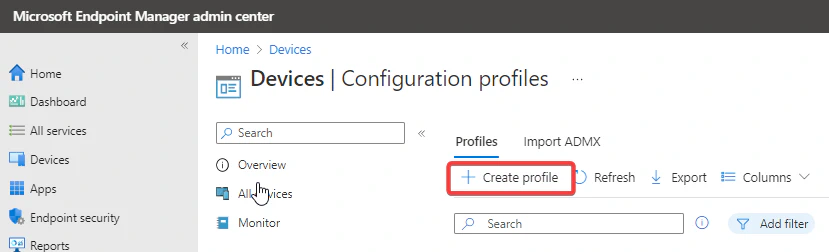
- Navigate within the Microsoft Endpoint Manager admin center to devices –> Configuration profiles and click on Create profile
- Select Windows 10 and later as the platform and select Settings catalog for the profile type
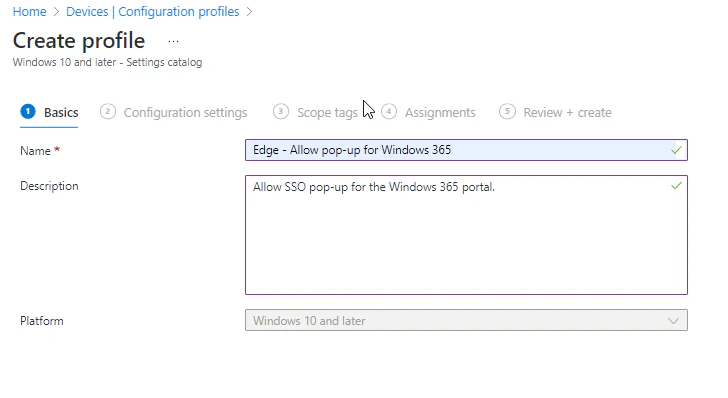
Fill in the Basics information like the name and the description and click next
In the configuration tab of the wizard click on Add settings and search for “Allow pop-up” and hit search. You will see the category for this settings is Microsoft Edge\Content settings and you will see the setting Allow pop-up windows on specific sites (User)
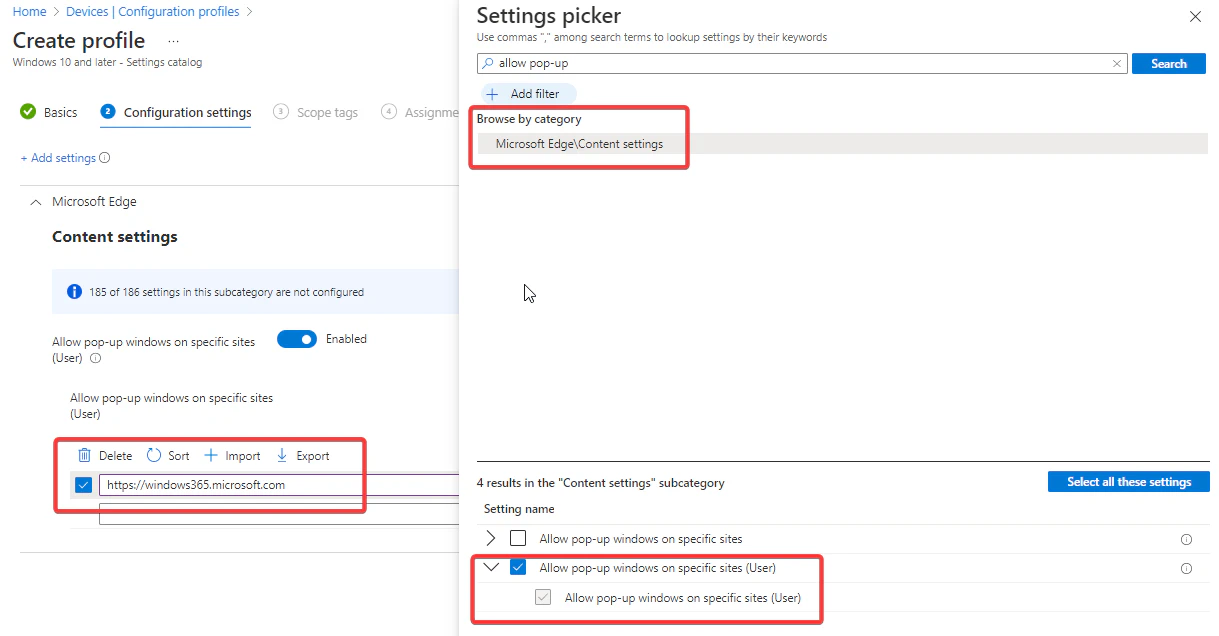
Select the settings in the right pane and configure the content settings on the left. Here you can add specific websites to allow Microsoft Edge to show the pop-ups.
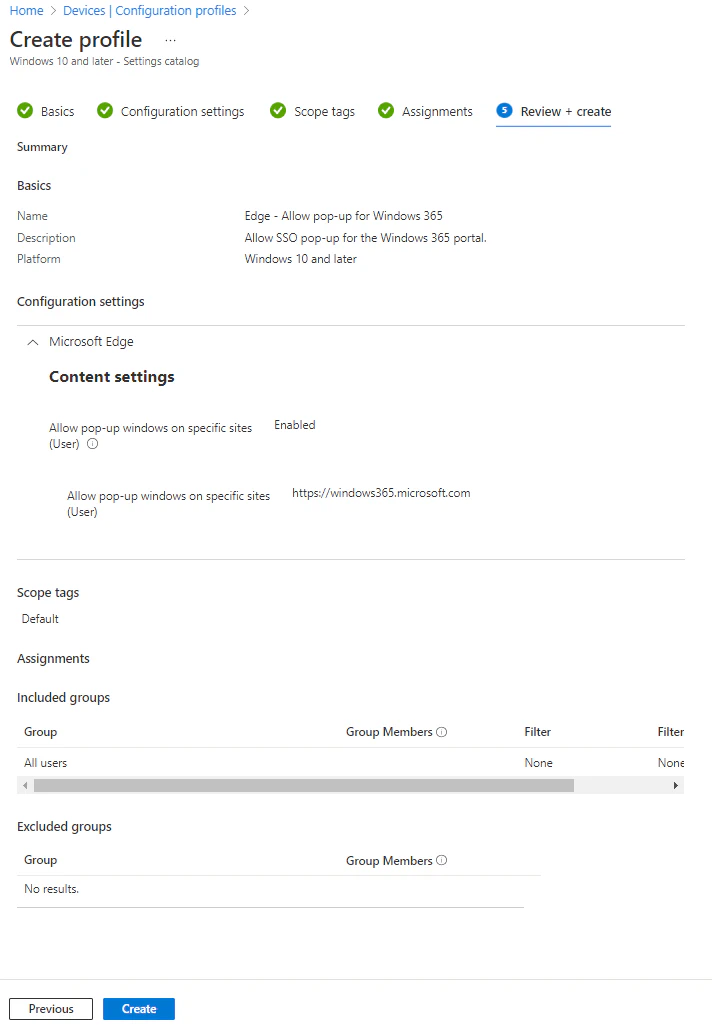
Enable the setting and fill in the name https://windows365.microsoft.com and hit Next
For this demo, you can skip the Scope tags and go directly to the Assignments. Include all users in the assignment tab and click on Next and review the settings. If everything is set up correctly click the Create button to create the configuration profile.
Single sign-on experience (Windows 365 app)
Of course, the web portal isn’t the only client which can be used to connect to your Cloud PC. With the same configuration change in the provisioning policy the following is the experience when you connect to your Cloud PC via the new Windows 365 app.
https://www.stefandingemanse.com/image3-10.png does not existThat’s it! In this post, I tried to explain how to configure the new Single Sign-On experience for your Cloud PCs and how to get the best user experience for your end users. I think this experience is great for our end users!
Hope you enjoyed this post, if you have any questions or feedback please feel free to reach out to me.
Have a great weekend!